Caring for a Nintendo GameCube
What ages inside. What you can do. Where to call in a specialist.
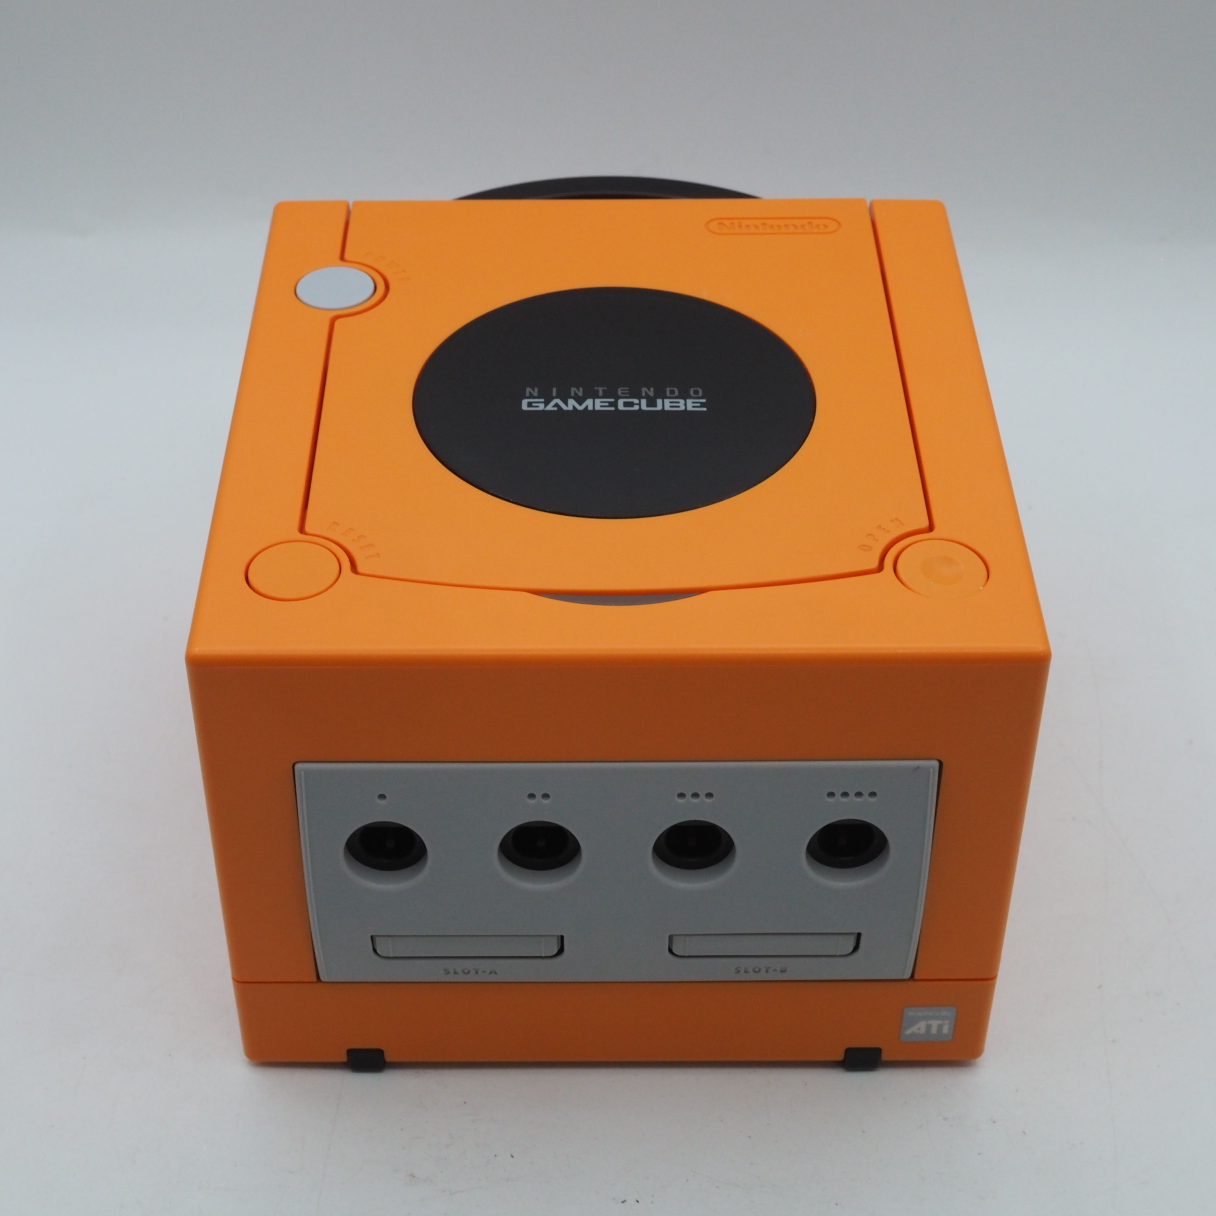
The GameCube was built for the living room, but most of them have spent the last two decades in storage. What ages inside a GameCube ages predictably. The laser lens, the cooling fan, the controller sticks — these are the places time works. Most of it is manageable with basic care. Some of it calls for a specialist.
Not sure which machine to get yet? Start with the buyer's guide →
How to clean a GameCube — the quick steps
The short version. The detail behind each step is in the sections below.
How to clean a Nintendo GameCube laser lens
A GameCube that struggles to read discs — black screen after insertion, loading errors, long boot times — most often has a tired or dusty laser lens. This is the first thing to try at home before considering specialist work.
You'll need: Microfibre or lint-free lens cloth · Alcohol-free lens cleaning fluid (gentlest), or a small amount of 70–90% isopropyl alcohol · 4.5mm gamebit screwdriver (only if opening the shell for deeper cleaning)
- Power down and open the disc cover. Switch the console off and unplug it. Open the disc lid and locate the laser lens — the small round lens inside the optical drive assembly.
- Dry-wipe with a lint-free cloth first. Gently wipe the lens surface with a microfibre or lens cloth. Do not use cotton swabs — loose fibres can lodge on the lens and make things worse. Try a dry wipe before any liquid.
- If needed, use a lens-safe fluid sparingly. If a dry wipe doesn't clear it, lightly dampen the cloth with alcohol-free lens fluid (the safest for the lens coating) or a small amount of 70–90% isopropyl alcohol. Wipe the lens lightly — never flood it. Repeated alcohol use can yellow or craze a polycarbonate lens, so use it only when needed.
- Let it dry completely. Allow the lens to dry fully before closing the cover and powering on. Test with a disc you know is clean and unscratched.
- If reads still fail, suspect the laser or drive board. Persistent read errors after a clean point to a weakened laser or degraded capacitors on the optical drive board. That is where home care ends and specialist work begins.
How to clean a GameCube disc
GameCube uses an 8cm miniDVD. Because it is smaller than a standard disc, a scratch covers a proportionally larger share of the readable surface — so gentle, correct cleaning matters.
You'll need: Soft, lint-free cloth · Optional: alcohol-free optical-disc cleaning fluid
- Hold the disc by its edges. Pick the disc up by the outer edge and the centre hole. Keep fingers off the shiny readable surface.
- Wipe from the centre outward. Using a soft, lint-free cloth, wipe in straight lines from the centre hole out to the edge — never in a circular motion, which can trace a scratch along the data track.
- Avoid abrasives and harsh solvents. Do not use abrasive cloths or aggressive cleaners. A barely-damp cloth with alcohol-free disc fluid is enough for stubborn marks.
- Store discs in their cases. Return discs to their cases when not in use. Most scratches happen in loose stacks and pockets, not in the drive.
What ages inside a GameCube
Twenty years on, where time concentrates
The optical drive laser lens
The most common GameCube failure. Laser output weakens with age, causing discs to be read inconsistently or not at all. Symptoms: black screen after disc insertion, loading errors, unusually long boot times. DOL-101 lasers are reported to wear faster than DOL-001 by the collector community. A GameCube that reads discs cleanly today is in better shape than most.
Drive board capacitors
The optical drive has its own independent circuit board, separate from the main board. Capacitors on this board can degrade over time, causing voltage instability that leads to disc read failures. If cleaning the lens does not resolve read errors, this is the next thing to investigate. Repair requires soldering.
Cooling fan dust buildup
Dust drawn through the side vents accumulates in the fan over years of use, reducing cooling efficiency and raising the risk of thermal issues during extended play sessions.
Controller analog stick drift
The analog sticks on GC controllers wear with use, eventually causing drift — unintended movement without input. This accelerates with heavy play in movement-intensive games. The stick modules can be replaced; plug-in replacement options that require no soldering are available.
Disc cover hinge
The plastic lid hinge is a known weak point. Cracks typically appear at the base of the lid where it meets the console body. This is cosmetic rather than functional, but fragile enough that forcing a stiff lid can cause it.
What you can do
Home maintenance with reasonable tools
Clean the laser lens
Open the disc cover and locate the laser lens assembly. Use a microfibre cloth or lens tissue — cotton swabs are not recommended as fibres can remain on the lens surface. A small amount of isopropyl alcohol (70–90%) can be used if needed; allow it to dry completely before use. This is worth trying before any other repair.
Clear the fan and vents
From the outside: aim compressed air at the side vents to dislodge dust. For internal cleaning: the GameCube opens with a 4.5mm gamebit screwdriver. With the console open, use a soft brush and compressed air around the fan. Once per year is a reasonable interval for stored or regularly-used consoles.
Laser potentiometer adjustment (intermediate)
A small variable resistor on the drive board controls laser output and can be adjusted with a precision flat-head screwdriver. For DOL-001, the baseline range is approximately 450–600 ohms; for DOL-101, approximately 150–250 ohms. Adjust in very small increments — no more than a few degrees at a time — and test after each change. Excessive output can damage discs. This is a last resort before lens replacement, not a first step.
Controller stick replacement
Solderless replacement stick modules are available from third-party suppliers. Note that some replacement sticks have reported voltage issues that cause the controller to reset during rumble events. Source from a reputable supplier, or source a genuine Nintendo replacement module and solder it in.
Disc handling
Store discs in their cases. When cleaning, wipe from the centre outward in a straight line — never in a circular motion. Do not use abrasive cloths. The miniDVD format is smaller than a standard disc, which means scratches affect a proportionally larger area of the readable surface.
Where specialist work begins
When home tools reach their limit
The GameCube is well-supported by the repair community — iFixit guides and the gc-forever forum cover most common failures in detail. But some repairs involve soldering or precision work that benefits from experience.
Full laser lens replacement
When cleaning and output adjustment do not resolve read failures, the laser assembly itself needs replacement. iFixit rates this repair as 'difficult.' Replacement part quality varies; sourcing from a known supplier matters more than it does for most consumer electronics repairs.
Drive board capacitor replacement
Replacing degraded capacitors on the optical drive board requires soldering and the ability to identify the correct components. If disc read failures persist after lens cleaning and adjustment, this is the next step — and the point at which most owners hand the console to a specialist.
HDMI output modification
For DOL-001, external adapters (Carby, GCVideo) connect to the Digital AV port and require no soldering. For DOL-101, internal HDMI modules (GCDual and similar) attach directly to the board and require soldering work. The output quality difference is significant for modern displays, but the modification itself should be treated as a specialist job unless you are comfortable with board-level soldering.
Fan replacement and thermal service
When the fan develops bearing noise or reduced rotation speed, replacement is the solution. Combined with reapplication of thermal compound on the CPU and GPU, a full thermal service can meaningfully extend the console's stable operating life.
Common Symptoms & What They Mean
The problems owners meet most often on a machine of this age — and what each one usually points to.
Why is my GameCube screen black even though it powers on?
If a GameCube's power light is on but the television stays black or blue, check the video cable and the input first, since a loose or wrong AV lead is a common and harmless cause. When the cable is fine, the usual reason is that the console cannot read the disc: a dirty or ageing laser lens means no game loads and no picture appears. Clean the lens gently as described above, and if reads still fail after a careful clean the laser itself is weakening, which is where specialist work begins.
Why won't my GameCube turn on at all?
A GameCube that shows no power light is usually a power-supply or connection problem rather than a dead console. Check that the power brick is the correct one and fully seated, and blow any dust out of the power port and the vents on the sides, since a heavily clogged, overheating console can also refuse to start. If the correct, clean power supply still produces nothing, the fault is inside the console or its power brick, and testing or replacing those is a job for someone with the right spare parts.
Why does my GameCube controller drift or move on its own?
A GameCube analog stick that drifts, moving the character while you hold nothing, is caused by wear inside the stick's potentiometers, where dust and carbon build up on the contacts or the part simply wears out. This is a controller fault, not a console one, so it follows the controller from machine to machine. Unclipping and reseating the potentiometer sometimes clears the debris, but a stick that has genuinely worn out needs the stick unit replaced.
Why won't my GameCube read discs, or why does it keep giving a disc read error?
A GameCube that spins up but returns a read error, freezes on the loading screen, or takes several tries to boot a game is almost always telling you the same thing: the laser is not reading the disc cleanly. Work through it from the cheapest cause first. Check the disc itself for scratches or a film of dust, and clean it by wiping in straight lines from the centre outward — never in a circle — since the 8cm miniDVD loses a proportionally large share of its data to a single scratch. If a clean, unscratched disc still fails, the laser lens is the next suspect: a gentle dry wipe with a lint-free cloth, then a little alcohol-free lens fluid only if needed. When reads still fail after both the disc and the lens are clean, the laser is weakening with age or the drive board's capacitors are degrading — and that is the line where home care ends and specialist work begins.
Most GameCube cleaning is gentle work — you rarely need to force anything. The one place I slow down is opening the shell. On a machine this age, the plastic posts that the outer screws bite into have grown brittle, and a power screwdriver drives them faster than your hand can feel the resistance; the momentum alone can crack a post. I open these by hand, turning slowly, and stop the moment the screw seats. If a post does break, and only if it has just broken, I keep the fragments, set them back with plastic glue, and let it cure — repaired that way, the post often holds better than before. A GameCube asks for patience more than strength.
— Taisei Shimizu, Enjoy Game Japan
Step by step
Two jobs on this page have a guide of their own, written out one step at a time.
A GameCube that reads discs cleanly today was either cared for, or fortunate. The laser is the heart of it — if that is working, most other things can be addressed.
If you would prefer a console that has already been inspected and tested, our shop carries hand-checked GameCube units.